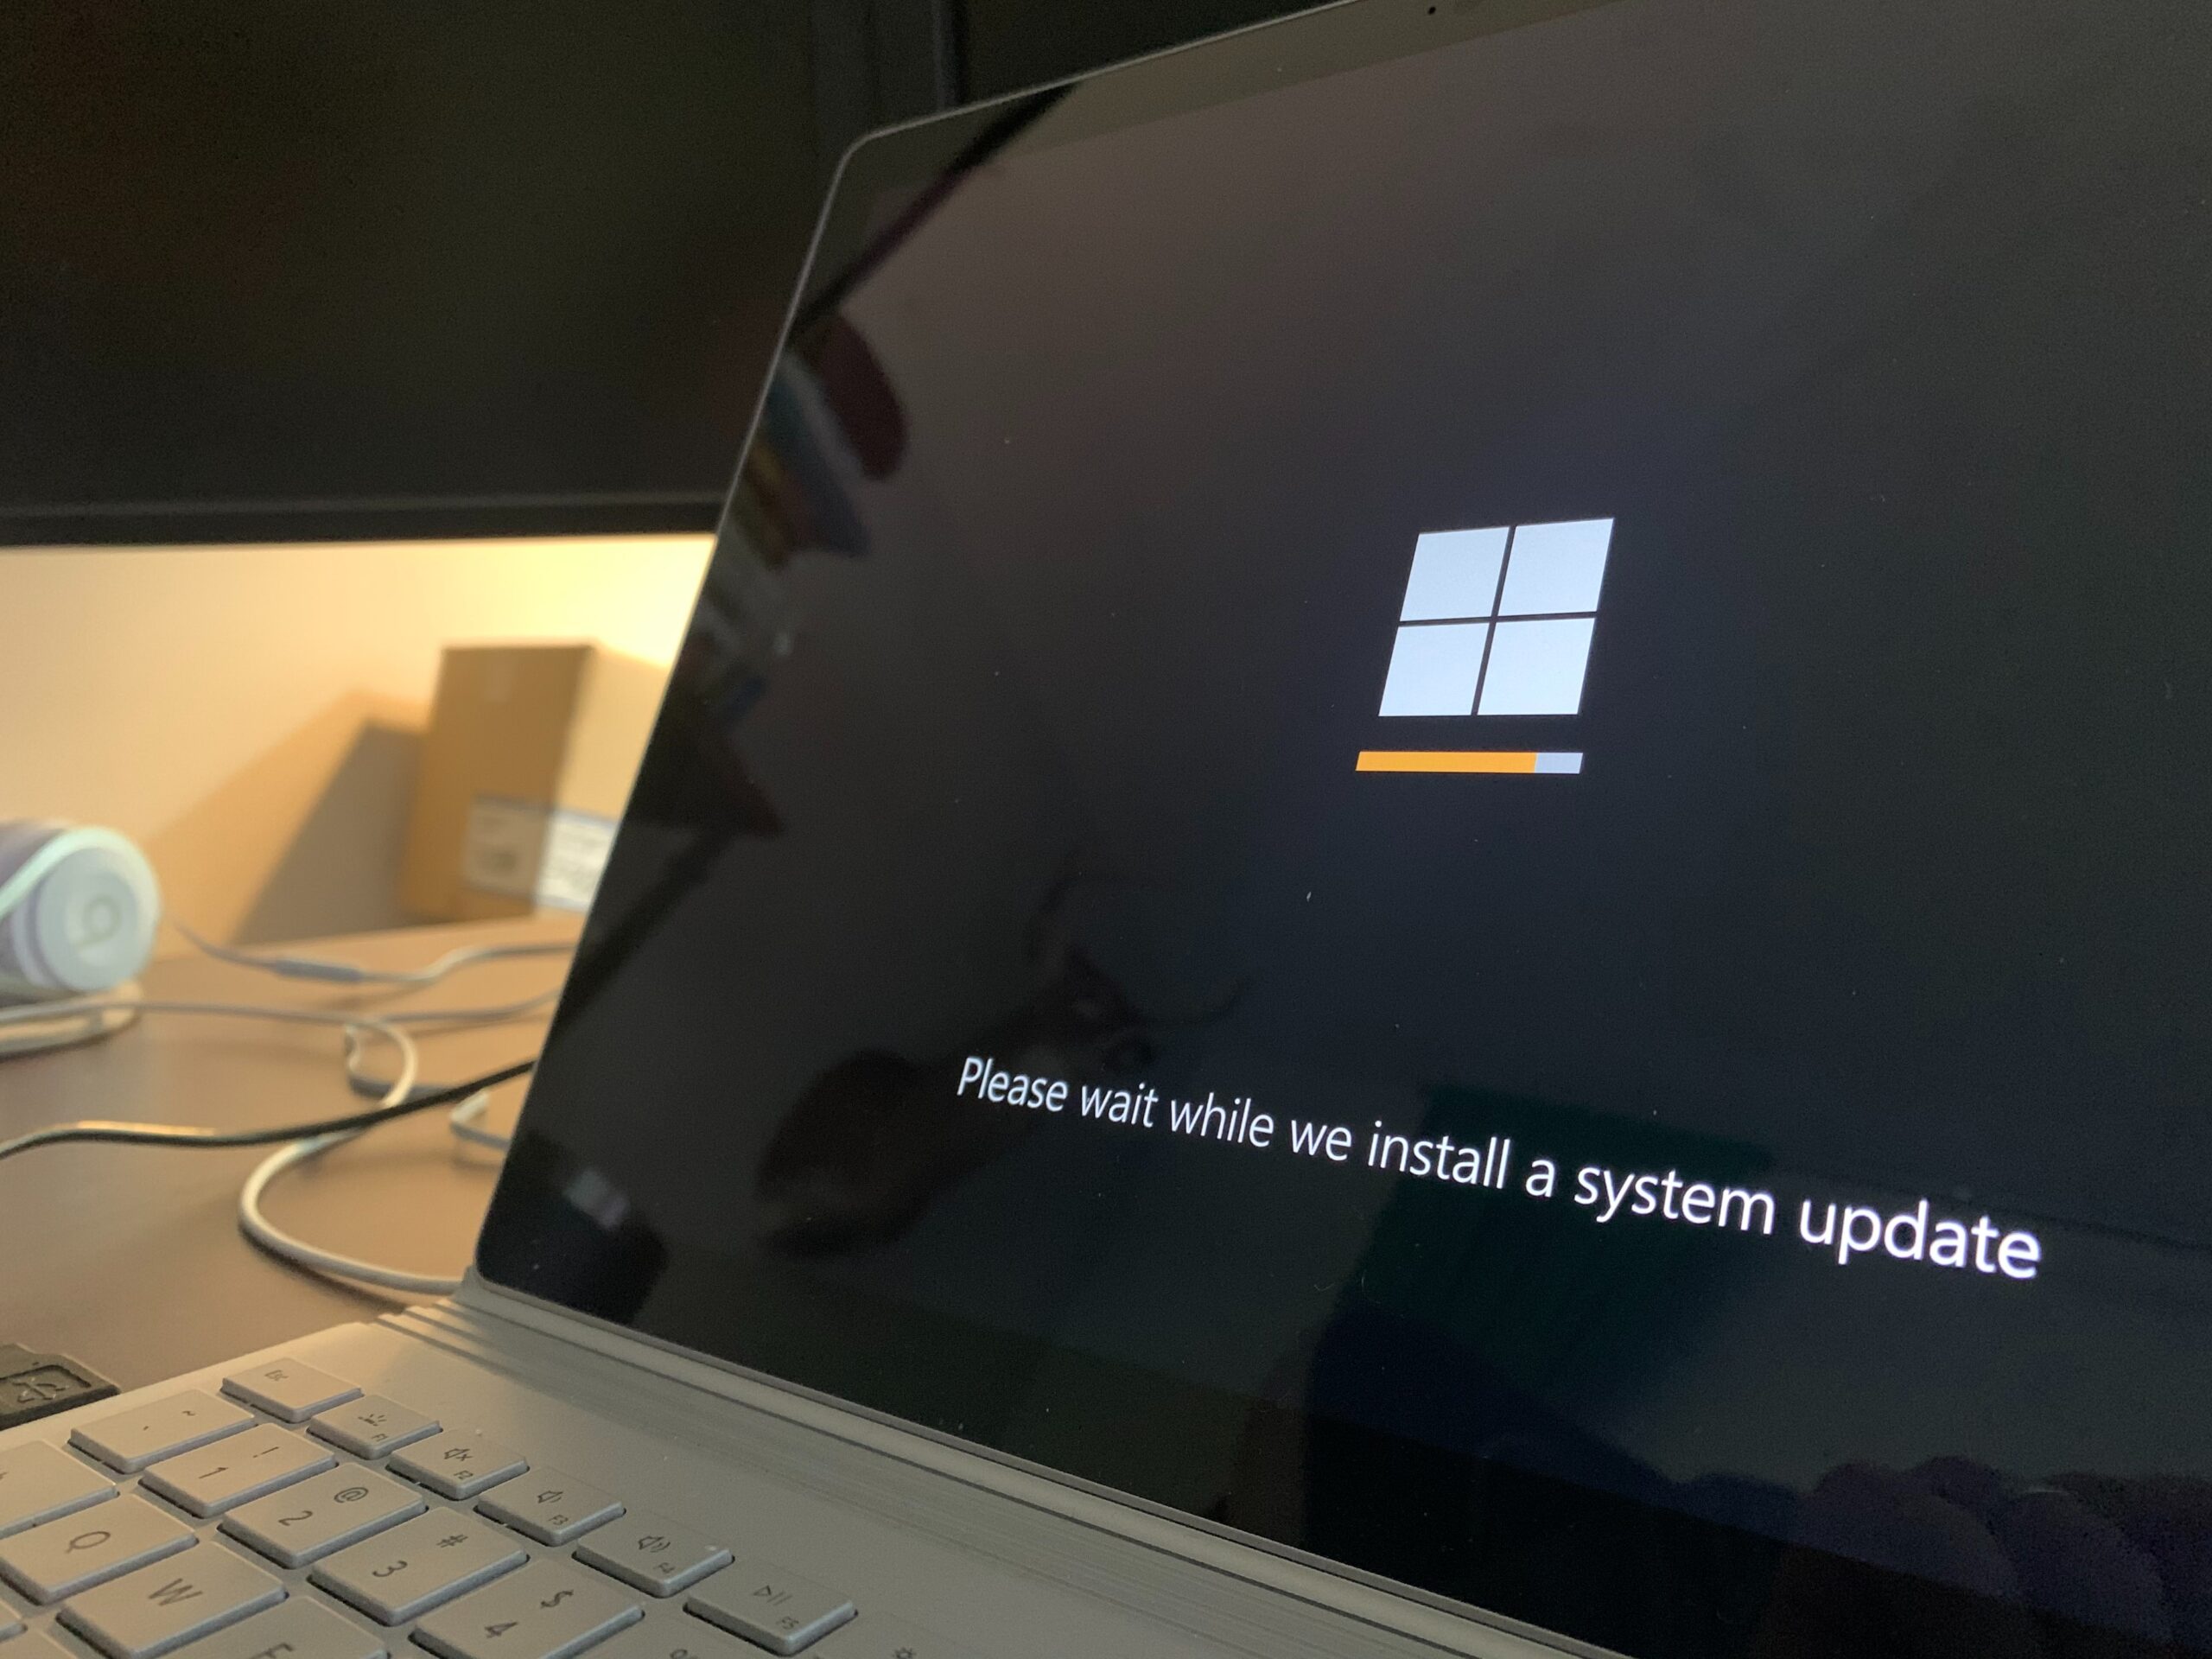
Are you looking to update your Windows 10 operating system manually? Look no further, as this blog post will show you exactly how to do it! In this blog post titled “How To Update Windows 10 Manually”, you’ll learn step-by-step instructions on how to manually check for and install updates. With these easy-to-follow steps, you can make sure your Windows 10 device is up-to-date with the latest features and security updates. So don’t wait any longer, read on to learn how to update Windows 10 manually!
How to Update Windows Manually
Updating Windows manually is a simple process that ensures your system stays up to date with the latest features and security patches. To start, navigate to the Settings menu in Windows 10. From there, select “Update & Security” and click on “Windows Update.” Here, you can check for available updates and install them manually. It’s important to keep your system updated to benefit from the latest improvements and bug fixes. With the upcoming release of Windows 11, staying up to date will be even more crucial for a smooth and secure computing experience.
Using the Windows Update Assistant
The Windows Update Assistant is a tool designed to help users update their Windows operating system easily. To use it, follow these steps:
- Go to the Microsoft website and download the Windows 10 Update Assistant.
- Open the downloaded file and click on ‘Update Now’ to start the process.
- Follow the prompts and instructions provided by the assistant to update your Windows operating system to the latest version.
- Once the update is complete, restart your computer and enjoy the latest features of Windows 11.
The Windows Update Assistant is a convenient way to update your operating system, and it’s recommended that you use it regularly to ensure your computer is running at its best.
Using the Windows PowerShell
Windows PowerShell is a powerful tool that can help you update your Windows 10 manually. Here’s how to do it step-by-step:
- Open PowerShell: Open the Start Menu and search for “PowerShell.” Right-click on the “Windows PowerShell” app and select “Run as administrator.”
- Set the Execution Policy: In the PowerShell window, type “Set-ExecutionPolicy RemoteSigned” and press Enter. This allows you to run scripts on your system.
- Check for Updates: Type “Get-WindowsUpdate” and press Enter. This command checks for available updates.
- Install Updates: Type “Install-WindowsUpdate” and press Enter. This command installs all available updates on your system.
- Restart Your Computer: After the updates are installed, you will be prompted to restart your computer. Remember to save and then hit Restart.
Using Windows PowerShell to update Windows 10 is a great way to ensure that your system is up to date. It’s quick and easy to do, and it gives you complete control over the update process. Give it a try today!
Conclusion
In conclusion, updating Windows 10 manually can be a useful skill to have when automatic updates fail or are not desired. The Windows Update Assistant provides a user-friendly way to manually update the operating system, while the Windows PowerShell offers more advanced options for those comfortable with command-line tools. By knowing these methods, users can ensure their Windows 10 is up to date, benefiting from the latest features, improvements, and security patches. Don’t let outdated software hold you back; take control of your Windows updates and stay ahead of the game.


